Posts

Showing posts with the label fabric scraps

Instant Apron from Old Dress
Image
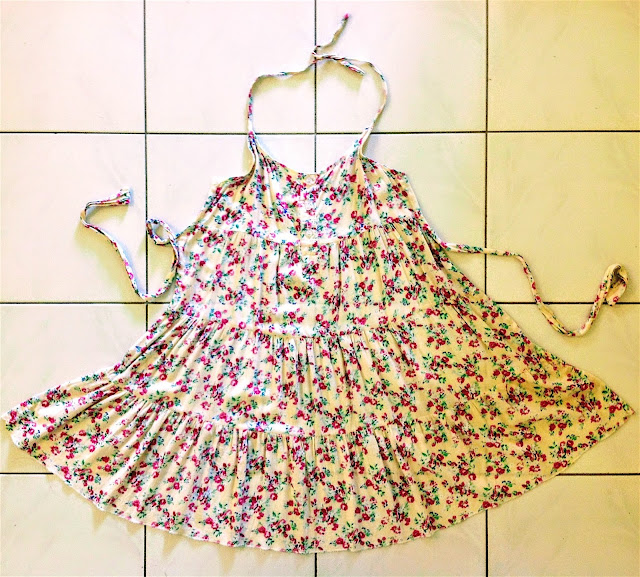
We're moving all contents to a new site If you've come here through an old bookmark, please update accordingly. Looking forward to seeing you at the new  URL   😊   😘 I love aprons: the design, the look, wearing it. But let's face it, aprons are not cheap. And to think that it's something that I wear to block off oil stains and dirt from cooking, it just doesn't make sense to spend money on it. Oh I'm such a stingy hag 😈 This was a sundress I had but worn off over time, and I'd ripped a whole somewhere on the back. Can't give it to charity, didn't want to cut it off into cleaning cloth (not yet), so I had to do something about it, and with it. Since my old apron has become so manky, it deserves a retirement. This old spaghetti strap dress came ready handy as it came ready with 2 attached belts for back tie bow, so all I needed to do was to separate the front and the back (keep the spaghetti straps and belt attached to the f...

What to do with damp stained shirt

Image
We're moving all contents to a new site If you've come here through an old bookmark, please update accordingly. Looking forward to seeing you at the new  URL   😊   😘 This cushion cover is made from one of my husband's old shirts, which unfortunately had been damp stained on the collar due to the highly humid weather. We can't give it away to the charity and the material is not suitable for cleaning. I was meant to upcycle it into a wrap dress but was too lazy to do so. Whilst I was staring into the buttons the idea just came to me. It was so simple: Just lay the shirt flat, buttoned, turned inside out. Mark out the square (whatever size fits your cushion) where the button panel will fall in the middle. Secure with pins or quick stitches, cut the excess material out and sew it all around. (I did it by hand as I don't have a sewing machine) Unbutton and turn inside out. Now you have a cushion cover with ready button fastening. We probably ...

DIY Flash Drive Organizer

Image
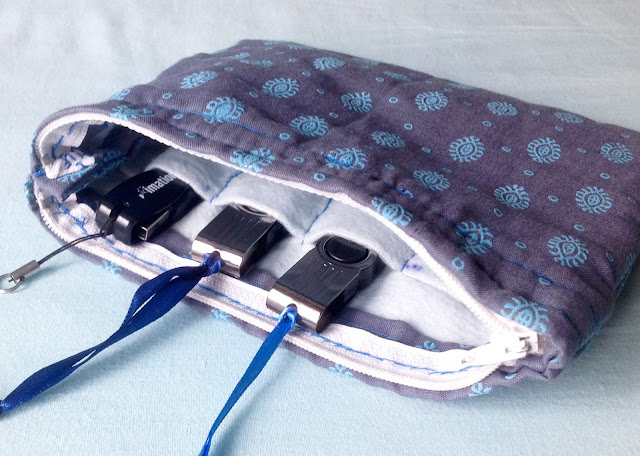
We're moving all contents to a new site If you've come here through an old bookmark, please update accordingly. Looking forward to seeing you at the new  URL   😊   😘 Due to work, I have to keep quite a few flash drives - each for a different type of job or client - in my bag. Although there are small compartments in my bag, I still find myself having to ransack through other stuff in the same pocket to get to the right flash drive. I've looked everywhere for a flash drive organizer but I just can't find one that I like; and most importantly, I do try not to make unnecessary new purchases. So I went to get some inspiration and help from my sewing box, and made this: I found some fabric scrap big enough for my flash drive organizer pattern, an old zip I saved from some old clothes, and an old and partly used Ikea fleece blanket (which I've used some for the snake stuffed toy ). Here are the few simple steps of the making of the flash drive organ...

Handmade Card Tag Holder

Image
We're moving all contents to a new site If you've come here through an old bookmark, please update accordingly. Looking forward to seeing you at the new  URL   😊   😘 I have to wear an access tag to work but I've never understood why the tag holders have to be designed the way they are. The lanyard that the office provides has a clip with sharp edges (red arrow), and my arms often get caught on it as I'm a naturally clumsy person. Also, the fabric based lanyard absorbs sweat and dirt so easily in this hot weather, it looks manky and disgusting. Not to mention that it is a plain ugly sight! I tried looking for a commercially made tag holder but they are expensive yet not very user-friendly; and they don't last. After a few scratches and losing some skin on my arms, I had to do something about it. I dug out some fabric scraps I've been keeping for a while, and picked this one - a family member brought some really nice materials back from a trip...

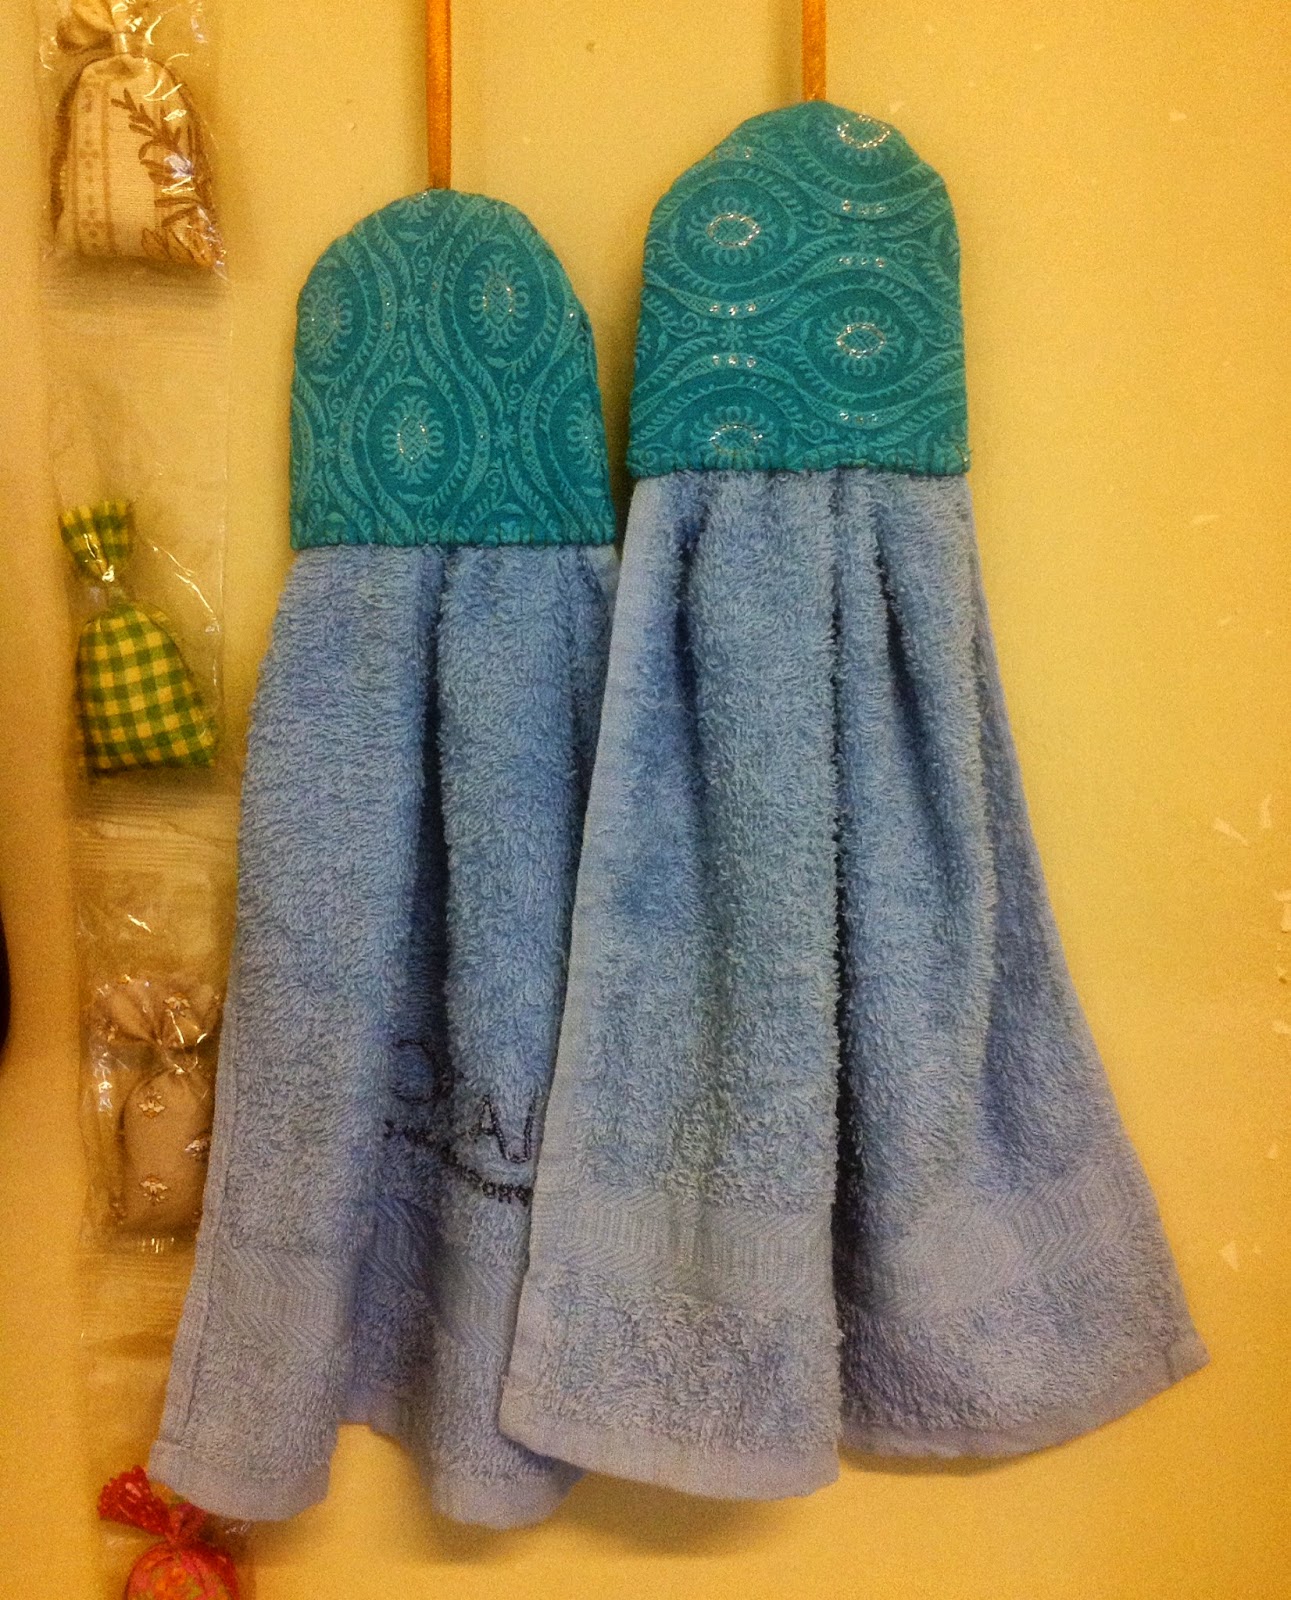
DIY Hanging Kitchen Hand Towels

Image
We're moving all contents to a new site If you've come here through an old bookmark, please update accordingly. Looking forward to seeing you at the new  URL   😊   😘

Old Ikea Blanket and Fabric Scraps

Image
We're moving all contents to a new site If you've come here through an old bookmark, please update accordingly. Looking forward to seeing you at the new  URL   😊   😘         The old Ikea fleece blanket serves as an internal lining that will stop the glass bottles from knocking each other, while giving the bag a soft spongy feel. 1. Iron out both the fabric scraps 2. Trim the fabrics into equal size, leaving excess on the sides for the printed one. 3. Double-fold in the side of the printed material all around, securing by ironing. 4. Wrap over the trimmed old Ikea blanket, fold the excess sides around it. 5. This is how it should look now. 6. Fold the layered fabrics in half (printed one face out) and stitch the bag up, leaving the top as opening. When this is done, stitch the middle together to make 2 bottle pockets. Found an old bag strap and made it the straps.

Drawstring bag from excess fabric

Image
We're moving all contents to a new site You can find us here at the new  Drawstring bag from excess fabric URL   If you've come here through an old bookmark, please update accordingly 😊 😘 My habit of saving up stuff and trying to make them useful traces all the way back to my teenage. This is my first handmade bag, made using the excess fabric from my blouse. My mum and her sisters were tailors so they used to make all my clothes and I learned stitching and operating the sewing machine by watching them work. I didn't do this all by myself, of course. One of my aunties helped me with the more complicated bits. And we'd a sewing machine then so it was not exactly hard for a 16-year-old. More than 2 decades on later, this bag is still in good condition although it might be a little too small and girly for me now. I can always give it to my nieces, or use it as a gift packaging... well I'll make sure it's put to good use. Note (21 Feb 2010) ...