Posts

Showing posts with the label paper cut-out

Mid Autumn Lanterns Centre Piece

Image
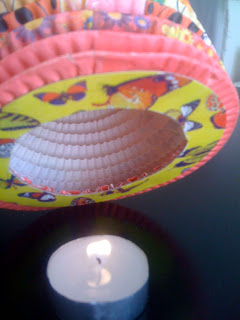
We're moving all contents to a new site If you've come here through an old bookmark, please update accordingly. Looking forward to seeing you at the new  URL   😊   😘 and serve as a beautiful centre piece on the coffee table: Now they are quite safe to handle, and could probably last much longer (and I can reuse them next year!).

Mini Cardboard Tabletop Christmas Tree

Image
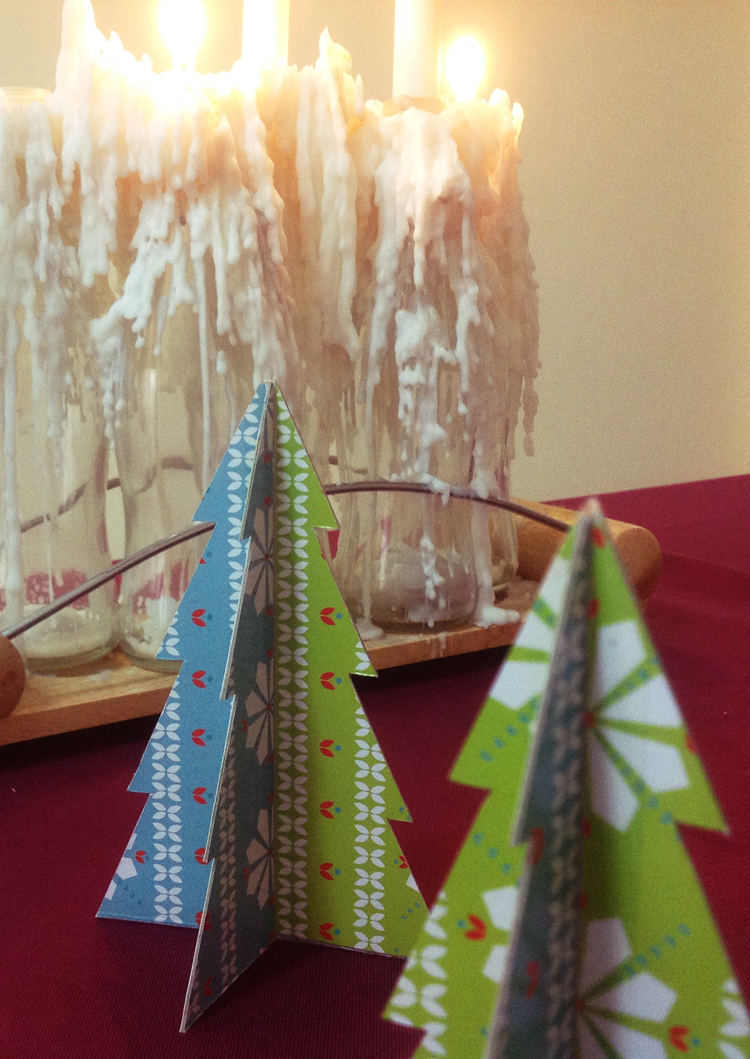
We're moving all contents to a new site If you've come here through an old bookmark, please update accordingly. Looking forward to seeing you at the new  URL   😊   😘    The making is pretty simple: View larger image in new tab or window 1. Material: some patterned or printed cardboard (old Christmas cards, Christmas merchandise packaging, etc), I cut these from last year's Christmas crackers packaging box. 2. Cut them into equal sizes: 2 per tree. 3. Take 2 and stick them together, back to back using double sided tape. 4. Make sure they are adhered nicely together, trim away any jutting out edges. 5. Cut each piece into 2 equal pieces. 6&7. Using a pencil, trace the outline of a simple pine tree onto each piece with a cut out shape prepared ahead (it can also be just a simple triangle). 8. Place 2 half-tree shapes together and secure with cellotape along the middle joining. Repeat with another 2. Fold each joined pair (c...

Gift Wrapping Signage

Image
We're moving all contents to a new site If you've come here through an old bookmark, please update accordingly. Looking forward to seeing you at the new  URL   😊   😘 Then we realised that people aren't really aware of the free service because there isn't any signage apart from one bunting standee. So I offered to make them some signboards. This one here is for the booth top. Apart from the words being printed from my own home-use black-and-white laser printer, everything is taken from existing material in my craft box: the old textured paper it is printed on, the old backing cardboard, the red and green markers, red and green glitter pens, and the frame that is cut and pasted from last year's Christmas cracker casing. I also made a tent card for the counter top with the same material, plus a cut-out gift picture taken from the cover of an old Christmas card. Our dear friend Simon's kind greetings now help warming the hearts of many other...

Handmade Christmas Tree from old cardboard

Image
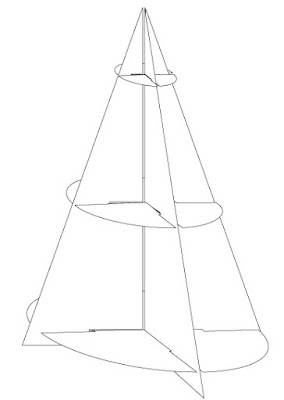
We're moving all contents to a new site If you've come here through an old bookmark, please update accordingly. Looking forward to seeing you at the new  URL   😊   😘 1. Cut the board into 4 equal shapes like this: 2. Mark 3 places where you will put support in for the tree (x, y, z points shown below), measure the width and cut 3 circles with radius the same as x, y, and z respectively. Cut a 2mm thick slot into the boards as shown below: Do not cut the slot too wide from the beginning, only slightly widen it if it is too tight to push 2 boards in together. 3. Hold the triangles upright whilst slotting the circles in sideways, horizontally: 4. Continue with all the other triangles, and you'll have a pine tree structure. The circles can serve as shelves for holding little gifts, or for placing ornaments. And when Christmas is over, just separate all the pieces and pack them flat for next year. I did that and painted it silver (young and foolish and ...
Let it snow with paper cut-out snowflakes

Image
We're moving all contents to a new site You can find us here at the new  paper cut-out snowflakes URL   If you've come here through an old bookmark, please update accordingly 😊 😘